
If you are researching how to repair uneven or deteriorated concrete, you likely aren’t just looking for a quick patch job. You are preparing for an investment.
If you are planning for a high-gloss epoxy finish in your garage or a durable polyaspartic system for a commercial facility, you have likely realized a critical truth: a coating is only as good as the substrate it bonds to.
At Permaco Concrete Coatings, we often see homeowners and facility managers in Cary and Raleigh caught in a dilemma. They have read the general “how-to” guides on DIY sites, but those guides rarely address the requirements of surface preparation for resinous coatings.
The number one reason expensive floor coatings peel, delaminate, or crack within the first year isn’t the coating itself, it’s the failure to properly repair the concrete underneath.
At Permaco, we make sure all concrete flooring is properly prepared before coating. In this article, we will explore the diagnostic approach to surface restoration, the science of Concrete Surface Profiles (CSP), and how to transform a damaged slab into a viable canvas for a world-class finish.
Key Takeaways
- Diagnose the slab first because the repair method depends on the type and severity of damage.
- Start with mechanical prep and use professional-grade fillers or SLUs correctly, since pouring products alone won’t fix high spots or structural movement.
- After repairs, re-grind to achieve the right Concrete Surface Profile (typically CSP 2–3) so epoxy/polyaspartic coatings bond properly and don’t peel or delaminate.
Phase 1: Diagnose Your Concrete
Before you buy a single bag of self-leveler or rent a grinder, you must understand the “why” behind your floor’s condition. Concrete doesn’t just break, it reacts to stress, moisture, and settlement.
In our work across North Carolina, from residential garages to industrial warehouses, we categorize surface damage into three distinct tiers. Identifying which tier your floor falls into is the first step toward a permanent solution.
Tier 1: Surface Scaling and Spalling
This is common in older slabs or areas exposed to freeze-thaw cycles. The top layer of the “cream” has flaked off, exposing the rough aggregate underneath. While this looks terrible, it is often structurally sound. However, you cannot coat directly over spalling, as the coating will simply mirror the rough texture.
Tier 2: Deep Pitting and Cracking
Pitting often results from salt damage or poor finishing during the original pour. Cracks are trickier. Is it a hairline shrinkage crack (normal) or a working crack (structural movement)? If one side of the crack is higher than the other, you have vertical displacement, which is a leveling issue, not just a patching issue.
Tier 3: Planarity Issues (Slopes and Birdbaths)
If you place a 10-foot straightedge on your floor and see gaps larger than 3/16 of an inch, your floor is not flat. “Birdbaths” are low spots where water (and coatings) pool. If you apply a standard coating over a birdbath, the material will settle too thick, leading to improper curing and eventual bubbling.
For homeowners considering epoxy garage floors, correctly identifying these issues is the difference between a 15-year floor and a 15-month floor.
Phase 2: The Repair Arsenal (Method Selection)
Once you’ve diagnosed the damage, you have three primary methods for correction. The mistake most DIYers make is relying 100% on method #3 (pouring product) when they should be starting with method #1 (mechanical removal).
1. Concrete Grinding vs. Shot Blasting
Market research indicates that while self-leveling compounds are growing in popularity, mechanical grinding remains superior for removing “high spots.”
- Best for: Removing minor surface scaling, leveling trip hazards (under 1/4 inch), and removing old glues or sealers.
- The Permaco Standard: We utilize planetary grinders with diamond tooling to physically shave the concrete flat before adding any repair material.
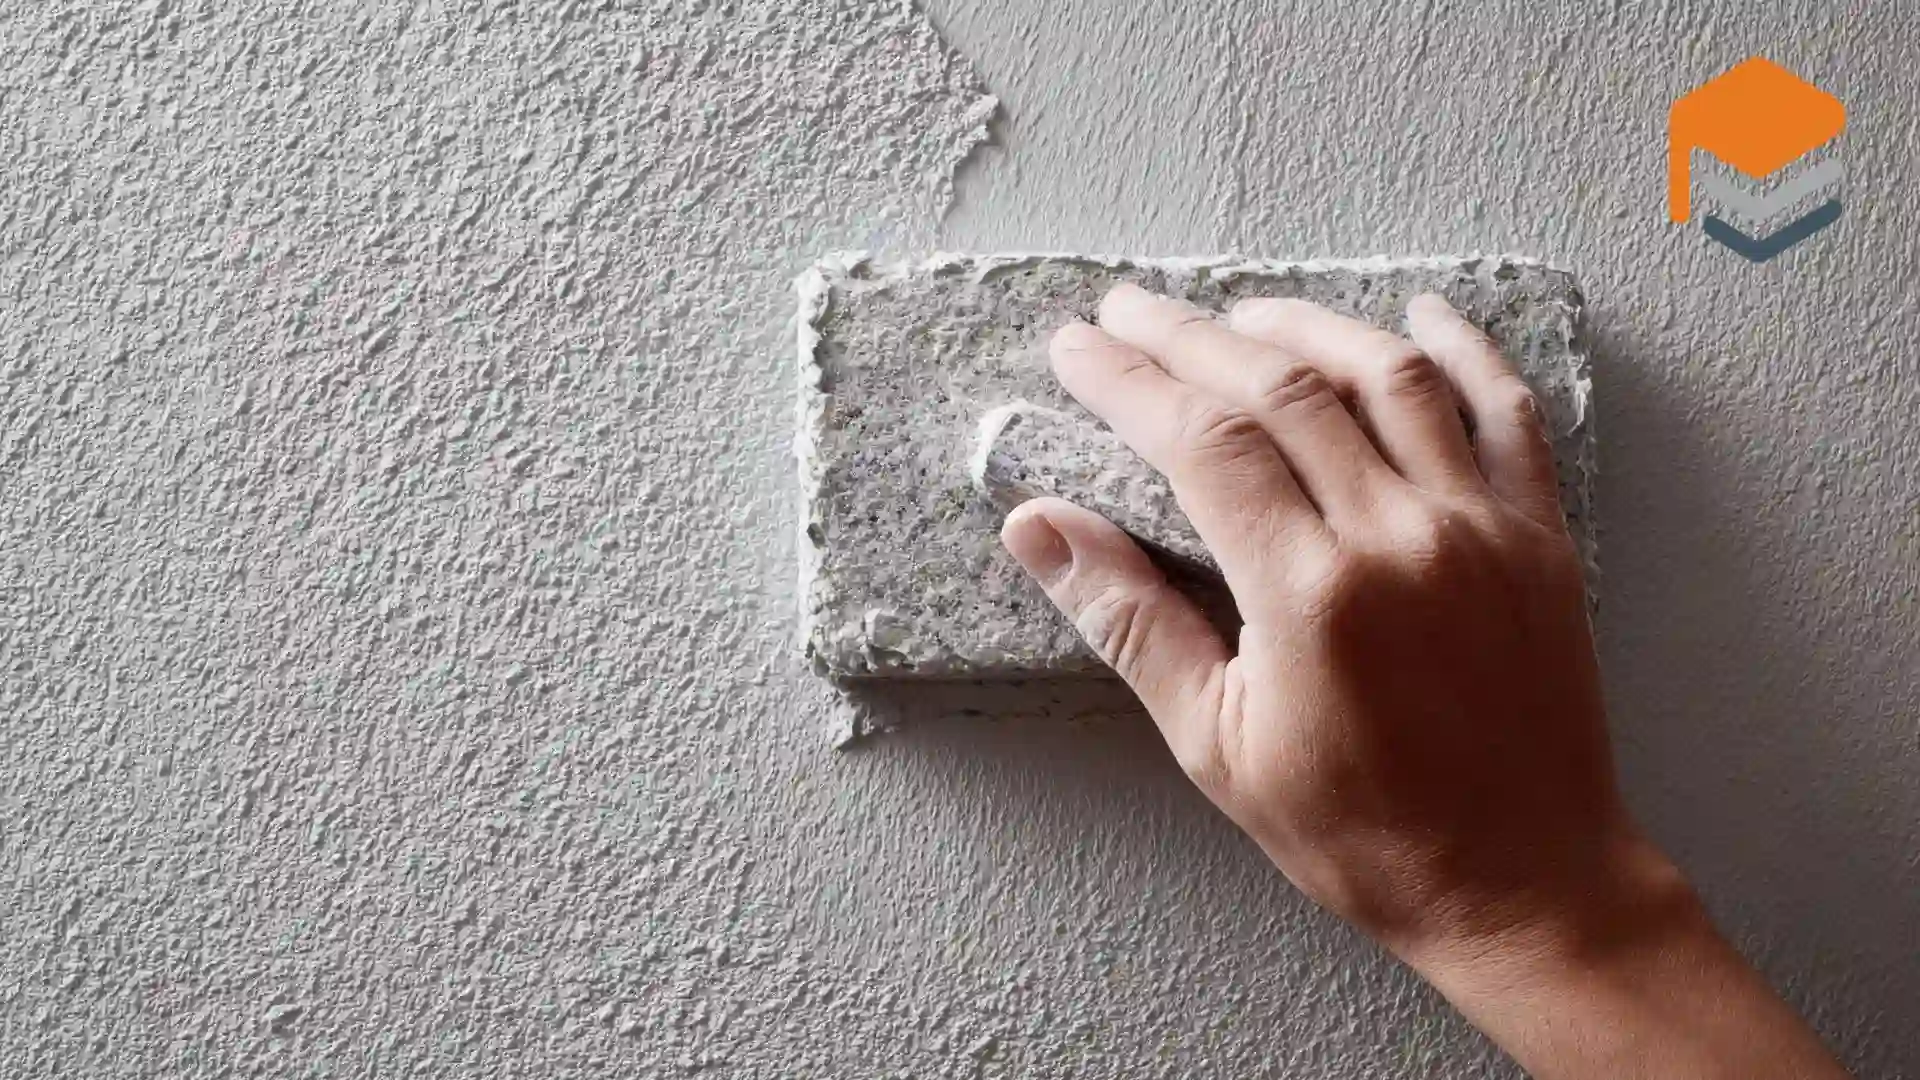
2. Deep Patching and Mending
For deep pits and wide cracks, you need a material that is stronger than the concrete itself. This is where big-box store “patch kits” fail. They are often cement-based and brittle. Professional repairs require polymer-modified mortars or epoxy pastes that offer tensile strength.
3. Self-Leveling Underlayments (SLUs)
These are flowable, cementitious toppings used to raise the elevation of an entire room or fill large low spots. However, they are not a magic fix. If the substrate isn’t primed correctly, the SLU will delaminate.
Phase 3: Concrete Surface Profile (CSP)
This is the technical concept that general contractor blogs usually skip. To get a coating to stick, your concrete needs “tooth.” This roughness is measured by the International Concrete Repair Institute (ICRI) on a scale of CSP 1 (smooth) to CSP 9 (extremely rough).
If you simply pour a self-leveler and let it dry, it finishes to a CSP 1, smooth as glass. If you apply an epoxy coating directly to that, it will peel.
This creates a paradox. You need to repair the floor to make it flat, but the repair material itself must be mechanically abraded (ground) or chemically etched to achieve a CSP 2 or 3 before the final coat is applied.
This is why epoxy flooring installations require such specific equipment. At Permaco, we engineer the texture for maximum adhesion.
Phase 4: The Pro’s Playbook for Execution
At Permaco, our “testing-first” approach means we don’t treat every crack the same. Here is the process we use to make sure repairs last as long as the building.
Step 1: Chase the Cracks
A crack is a weak point. If you just smear putty over it, the movement of the slab will reopen it. We use a diamond blade to “chase” the crack, widening it into a clean V-shape. This increases the surface area for the repair material to bond to.
Step 2: The Material Choice (Polymers matter)
For static cracks (non-moving), a rigid epoxy filler is ideal. It welds the slab back together. For moving joints or exterior applications like walkway coatings, we may use a semi-rigid polyurea that allows for slight thermal expansion without snapping the bond.
Recent data in construction material science shows a shift toward polymer-modified mortars. These materials offer superior adhesion and flexibility compared to traditional cement patches, which is vital in North Carolina’s humid climate where concrete expands and contracts.
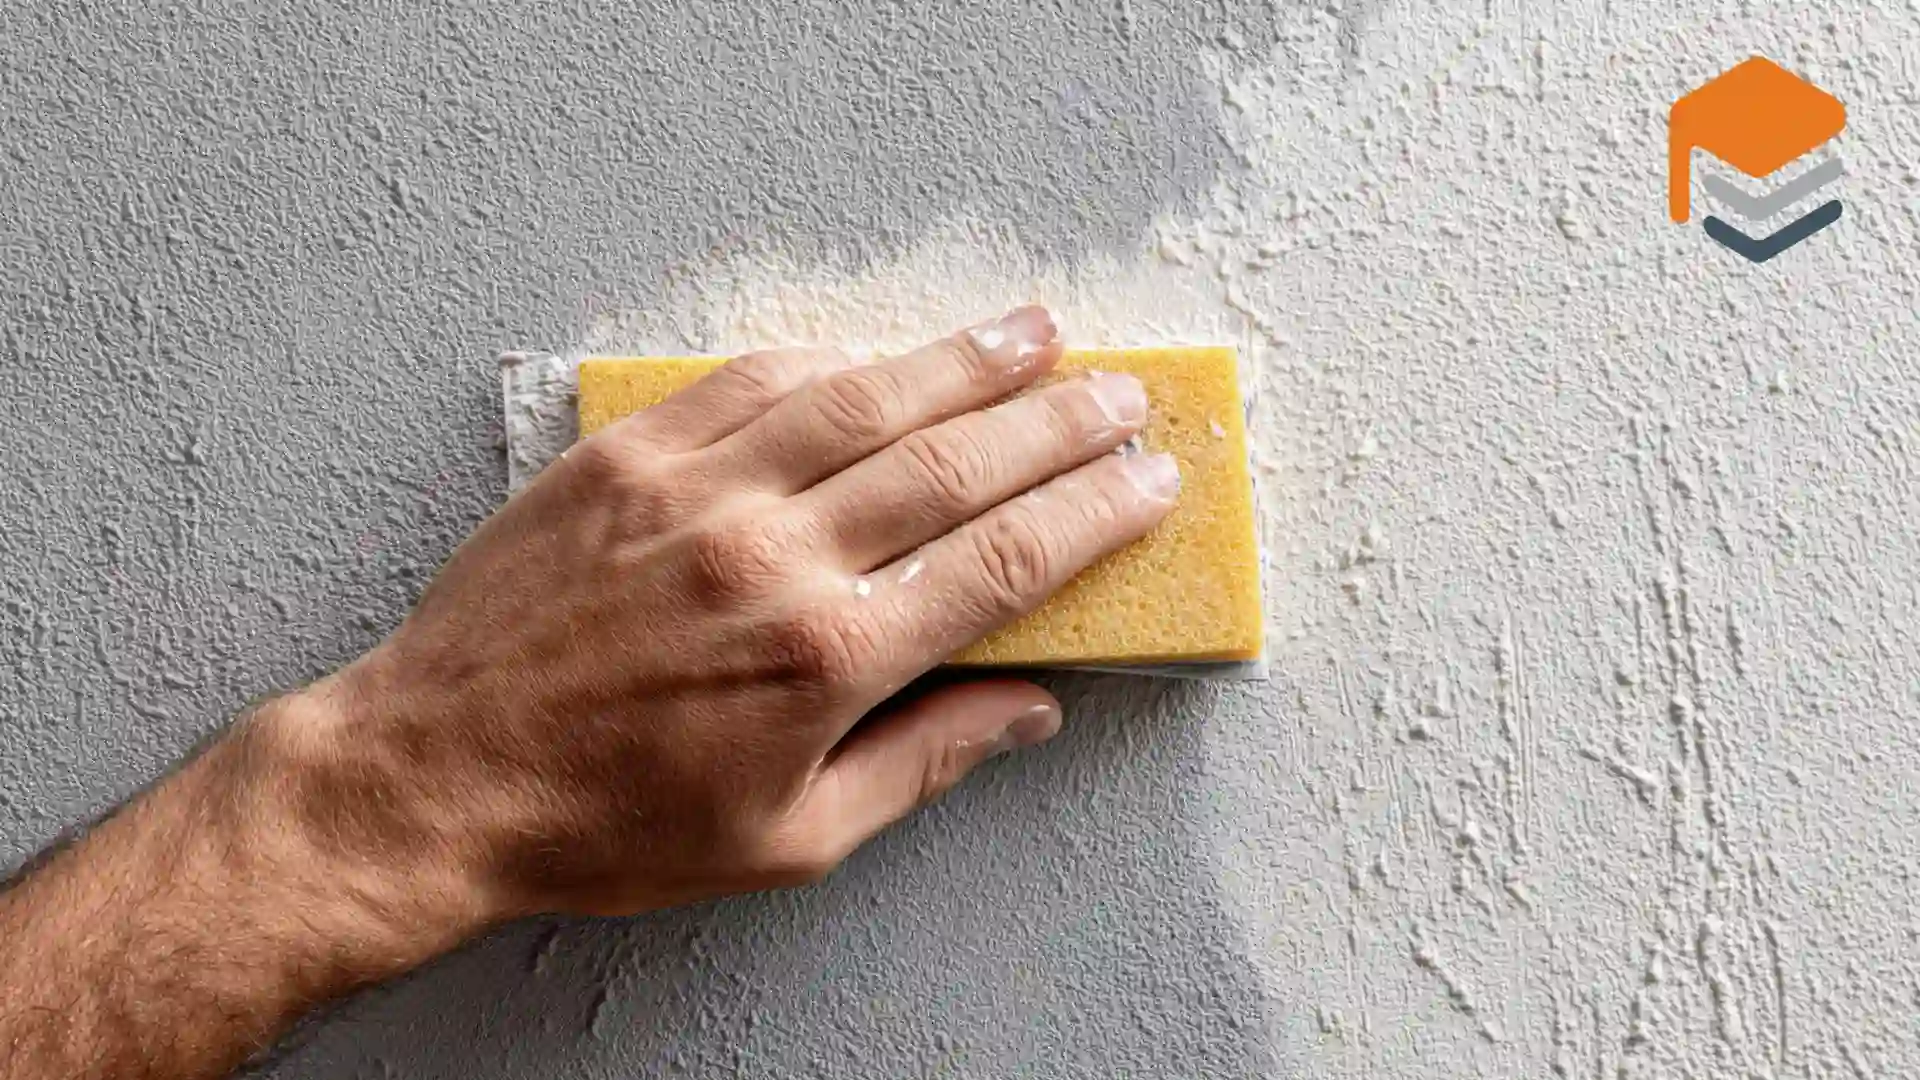
Step 3: Priming and Leveling
If the floor requires a self-leveling compound, priming is non-negotiable. Concrete is a sponge. If you pour wet leveler onto dry concrete, the slab sucks the moisture out of the mix too quickly, causing the repair to crumble. We saturate the pores with a primer first, making sure the leveling compound cures at the correct chemical rate.
Step 4: The Re-Grind
This is the step most people miss. Once the repairs (mending or leveling) are cured, the entire floor must be ground again. This confirms the repair is perfectly flush with the surrounding concrete and opens the pores (achieving that CSP 2-3) to accept the base coat.
Frequently Asked Questions
Can I just paint over the cracks if they are small?
Paint might hide a hairline crack for a few weeks, but it offers zero structural bridging. As the concrete breathes, the paint will snap. High-performance coatings are thick and rigid. They require a continuous, solid substrate. Painting over a crack is like putting a bandage on a fracture.
How do I know if my concrete is too damaged to coat?
If the concrete is crumbling due to weak mix design (often called “soft concrete”), coatings may pull the surface apart. We perform a scratch test to determine slab viability. Occasionally, extremely deteriorated slabs in older properties might need a densifier treatment or, in rare cases, resurfacing before they can support a coating.
Why not just replace the concrete?
Replacement is invasive, expensive, and requires a 28-day cure time before you can coat it. Repairing and resurfacing is typically 60-70% cheaper and allows for coating installation within days. For many projects, such as custom paver installation or residential patios, restoration is the sustainable choice.
Preparation is Protection
Repairing uneven and deteriorated concrete is about risk mitigation. You are creating the foundation for a surface that needs to withstand hot tires, oil spills, and foot traffic for decades.
While DIY solutions exist, the margin for error is slim. The difference between a failed floor and a permanent solution usually lies in the diagnosis and the mechanical preparation.
At Permaco Concrete Coatings, we don’t guess. We test, we grind, and we repair using industrial-grade materials tailored to your specific slab. If you want to make sure your concrete is ready for a transformation, contact us today for a comprehensive evaluation.
Let’s build something that lasts.


